Clean all the leaves Upgrade Planner Checklist
Session goals, spend order, tool-vs-bag decisions, and pre-100% prep.
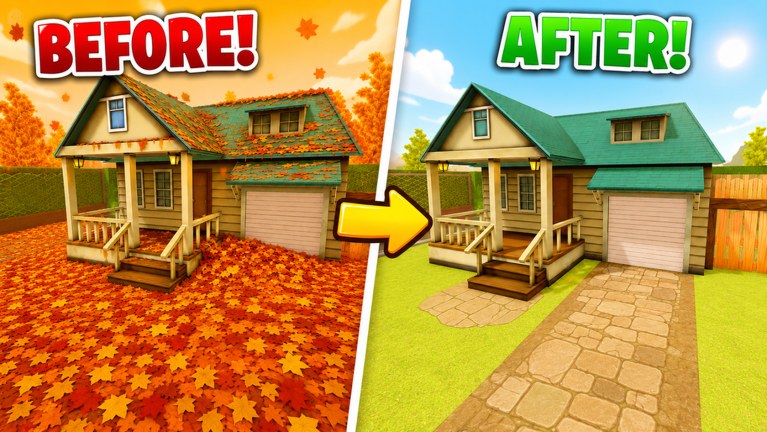
This planner turns wiki advice into a runnable checklist for Clean all the leaves!. Before you open the upgrade shop, pick a session goal, identify your bottleneck, then spend in an order that shortens collect → sell → unlock. Pair the letter grades from Tools Tier List and Upgrades Priority List with the steps below. No verified codes at writing; if free cash appears later on Codes, fold it into Step 2 instead of impulse-buying.
Step 0 — session setup (2 minutes)
- Platform ready: PC or mobile controls feel okay (Controls).
- Party size noted (solo up to 12). If co-op, name a spend caller.
- Goal picked (choose one primary):
- Learn — shop, sell, equip comfort.
- Unlock — next yard section / garage progress.
- Power — reach rake- or blower-tier clear comfortably.
- 100% — full clean attempt toward the secret ending.
- Landmark refresh: sell point, upgrade shop, garage button, a vent entrance (Map Overview).
If you cannot name a goal, default to Unlock after the first sell—not infinite starter sweeping.
Step 1 — diagnose the bottleneck
Answer honestly:
| Feeling | Likely bottleneck | Bias |
|---|---|---|
| Constantly running to sell | Bag / capacity | Save for capacity first |
| Selling fine, zones still heavy | Clear speed / tool | Save for tool buy + equip |
| Fine clearing, slow crossing map | Move speed / routing | Light move upgrades + vents |
| Weak early, tools gated | Grab speed bridge | Cheap grab, then tool |
| World feels closed | Progression landmark | Garage/vent/unlock circuit |
Write the bottleneck in chat (co-op) or mental sticky note (solo). All spends must attack it until it changes.
Step 2 — cash rules for this sitting
- Sell on purpose before the bag is a crisis.
- Do not open the shop mid-lane unless the lobby agreed on a shop break.
- Every purchase must map to the goal or bottleneck—vanity can wait.
- After buy, equip/verify immediately (tools especially).
- Stop spending when the goal’s next milestone is funded; bank surplus for the following milestone.
Step 3 — default spend order (launch-era bias)
Use this unless Step 1 said otherwise:
- Bag / capacity until sell trips stop dominating.
- Tool buy + equip to the best affordable clear tier (hands → rake-style → blower-style).
- Grab speed only as a cheap bridge when tools are gated.
- Move speed once yard layers widen and landmark travel hurts.
- Return to capacity whenever a new tool outpaces your bag.
Detail lives on the upgrades tier page; this is the field version.
Step 4 — tool vs bag decision tree
Save for bag when
- You hit full mid-lane every clear.
- Your strong tool feels wasted between sell walks.
- Co-op sellers cannot keep cash flowing because everyone is overloaded.
Save for tool when
- You reach sell with spare time but the zone still looks dense after a full pass.
- A rake/blower purchase is available and your bag already tolerates a medium route.
- Unlock progress is gated by clear throughput more than carry size.
Split the difference when
- You are one cheap capacity tick from comfort and one tool unlock from a spike—buy the cheap tick, then the tool, then reassess.
Never buy a tool you will not equip this session.
Step 5 — mid-session checkpoint
At the halfway mark of your time box:
- Re-identify bottleneck (it often flips after one good tool).
- Confirm garage/vent objectives if the goal was Unlock (Area Unlocks).
- Rotate camera wide across finished sections—missed strips waste later 100% time.
- Co-op: reassign roles if three clearers and zero sellers emerged.
Pre-100% checklist
Only start a completion push when most boxes are true:
- Best available clear tool owned and equipped.
- Bag capacity comfortable for far-zone sweeps without panic sells.
- Move speed tolerable for sell ↔ yard ↔ garage/vent circuits.
- All currently unlockable sections actually opened.
- Sell points for late sections identified.
- Vent shortcuts tested once while calm.
- Co-op roles set: clearers, seller, runner, closer.
- Wide-camera edge pass planned per section.
- Secret-ending requirements skimmed on Secret Ending.
- Party agrees not to random-shop during the final sweep.
If more than two boxes fail, switch goal to Power or Unlock and schedule 100% later. Failed completion runs usually die from prep debt, not from “bad RNG leaves.”
Example session scripts
30-minute learn session
- Controls warm-up strip.
- Two deliberate sells.
- One capacity bump or first rake-tier tool.
- Find garage + one vent.
- Stop. Do not chase 100%.
60-minute unlock session
- Capacity to comfort.
- Tool equip to current best.
- Landmark circuit; push the next area condition.
- Shop break only after the unlock attempt.
- Bank leftover cash.
Long 100% night
- Run pre-100% checklist.
- Clear in declared zone order.
- Seller keeps economy alive without derailing closers.
- Final edge pass before calling success.
- Only then chase ending steps from the secret-ending guide.
Co-op planner card (pasteable)
Goal: Learn / Unlock / Power / 100%
Bottleneck: Bag / Tool / Move / Grab / Landmark
Spend caller: ____
Clearers: ____
Seller: ____
Runner: ____
Closer: ____
Shop break rule: on-call only
After you finish the checklist
Return to play—do not open five more tabs. If something blocks progress, jump surgically to Getting Started, Map Overview, or Updates Hub. The planner’s job is fewer, better buys.
Upgrade planning will not vacuum the yard for you, but it stops the shop from becoming a second game you lose while leaves wait outside.
Frequently Asked Questions
Quick answers about Clean all the leaves and this wiki.
Should I buy bag upgrades or tools first?
Default bag/capacity until sell trips calm down, then buy and equip the best affordable tool. Use the decision tree above when the bottleneck is unclear.
What is a good first session goal?
Learn or Unlock—not an instant 100% attempt. Get sell, shop, equip, garage, and vents comfortable first.
How do I use this in co-op?
Name a spend caller, assign clearers/seller/runner/closer, and paste the planner card so everyone shares one economy plan.
When am I ready for a 100% push?
When most pre-100% checklist boxes are true—especially equipped best tool, healthy capacity, opened sections, and a closer plan. See also [Secret Ending](/guides/secret-ending/).
Where do the tier rankings live?
Use [Tools Tier List](/tier-list/tools/) and [Upgrades Priority List](/tier-list/upgrades/) alongside this planner.